Tags
Once I decided to make my dollhouse Victorian, siding became an important factor. Old houses have that beautiful narrow lap-siding. It’s a lot more time-consuming to install, whether your house is full-sized or dollhouse-sized, but it adds so much authenticity if it’s done right! 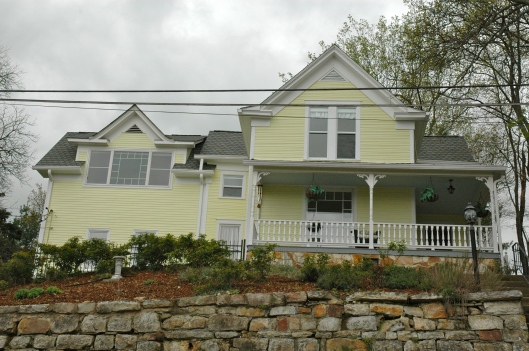 Here’s my old Victorian. The right-hand side is original. The lower left-hand side was a 1980’s addition. In 2002 we took off that roof and added a second story with a gable that mimicked the original gable right down to the way it curved into the roof and a large picture window that mimicked the original one, half hidden behind the porch.
 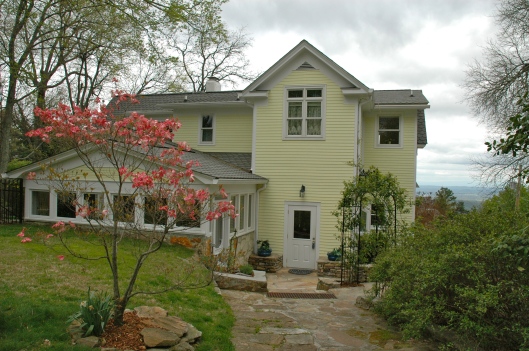 I fought with our contractor for the (more expensive) narrow Hardy-board siding on the addition instead of the cheaper wide version! And when he advised me to rip off the unique, one-of-a-kind original siding, we found a different contractor and had him restore it. This house was indeed a labor of love! So now that you’ve seen my inspiration, let’s talk dollhouse siding.
 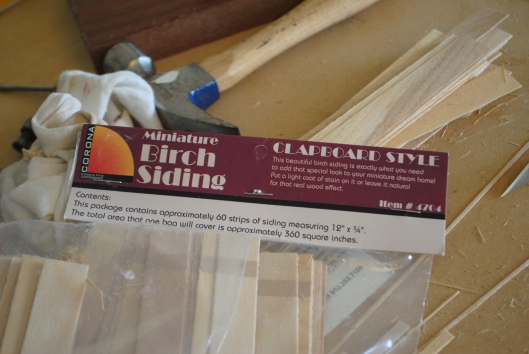 This is the siding I ordered.
  Here are the supplies I used: Siding, a ruler, a fine-pointed pencil, a hot glue gun, a board for measuring and cutting, a scissors, and fine 220 grit sandpaper.
 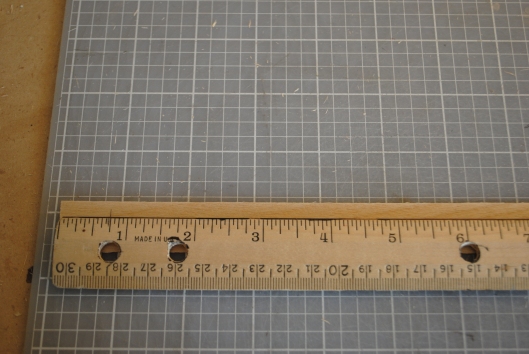 The very first step is to measure the exact width of the dollhouse side. (I like using a wooden ruler because I can pencil a measurement in and use it over and over without remeasuring each strip of wood.) I marked the first strip of wood with a little “tick” mark.
 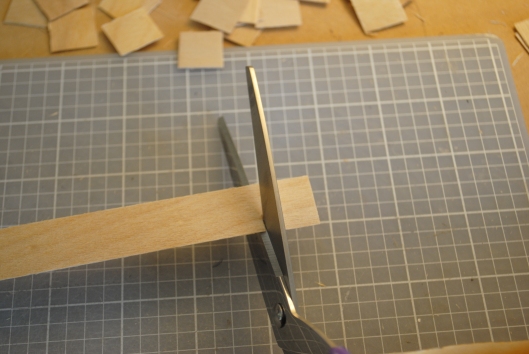 Next I cut off the excess length of the wood strip with a scissors along the “tick” mark. I’m pretty good at eyeballing a straight cut, but if you’re not, you might use a small T-square to draw a line, ensuring that your cut will be straight. I plan to edge the open (back) side of each wall, so any slight imperfections will be hidden, anyway.
 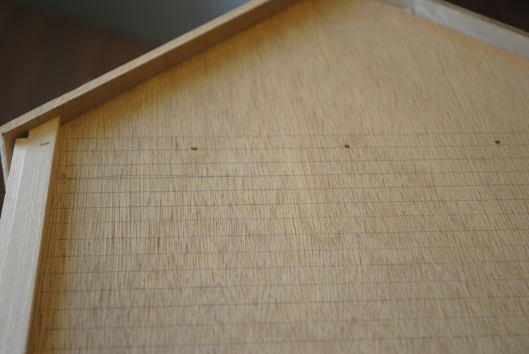 The next step is to draw lines on the side of the dollhouse to be sure the siding goes on straight. I hot-glued my first siding strip across the bottom of the dollhouse. I measured the strip vertically (height) and halved that amount. Using that halved measurement, I ruled lines all the way up the side of the dollhouse, starting at the top edge of the first strip. It works best to measure all the way up one edge and then all the way up the other edge, then draw straight lines across. Depending on the size of your dollhouse, you may need a longer straight-edge for this than a 12-inch ruler, as I did. These lines, shown above, serve to line up each successive strip evenly so that it covers half of the strip below it and gives a nice, even appearance to the siding.
  Like this!
 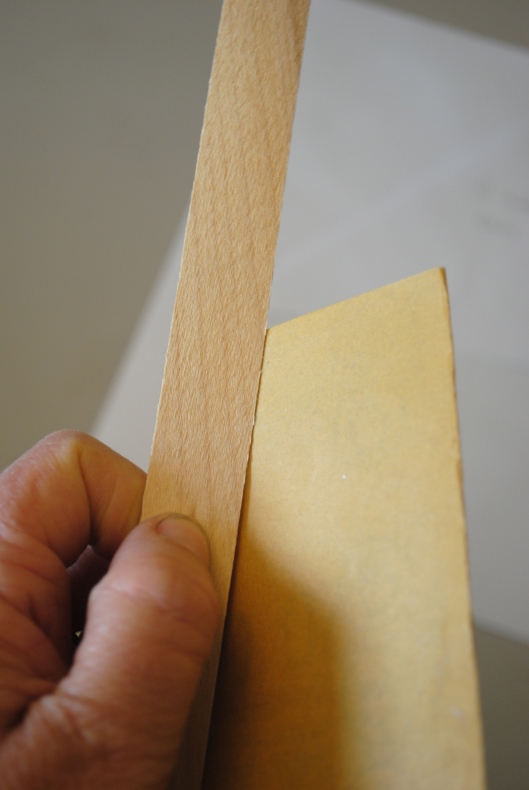 One thing I did was to sand gently along one edge of each strip after I cut it to the correct length. If you look at the first photo of the siding package, you will see shreds of wood on the work surface. A lot of these cling to the siding strips, and gently sanding the edge that will be visible makes the final product look better.
 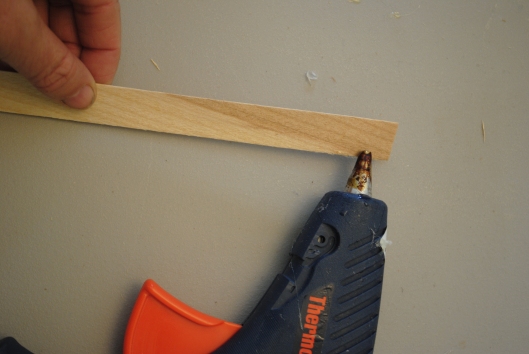 Starting at one end of the un-sanded side of each strip, I applied a string of hot glue.
 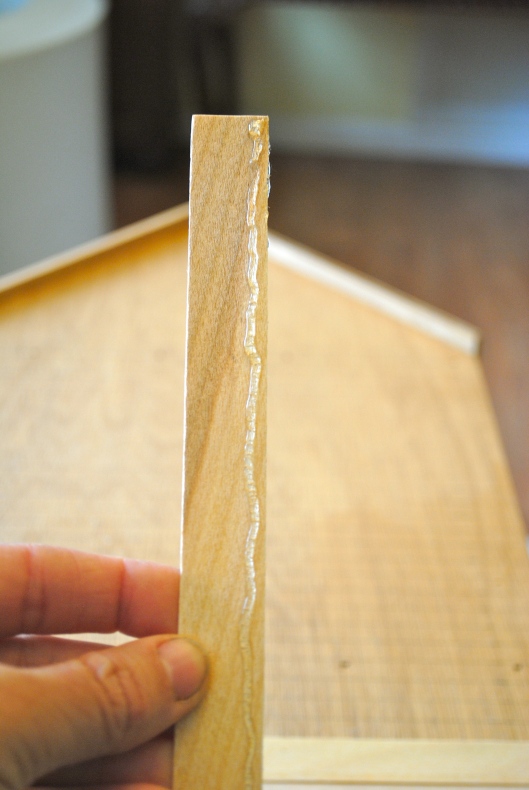 Hot glue sets quickly, so I took this picture FAST to show how much glue I used. As you can see, my hand is not the steadiest, but it doesn’t matter. Speed is more important.
 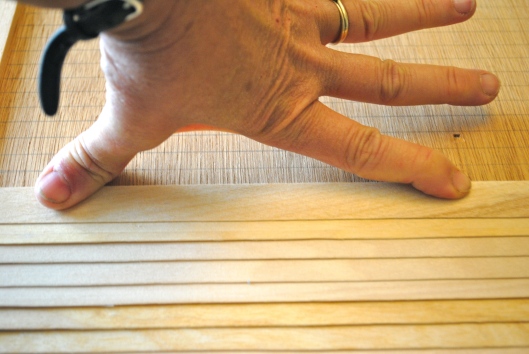 Then each strip got pressed into place using both hands (except when I needed one hand to take this photo). It’s important to place each strip accurately, using your pencilled lines, and then to press it quickly in place for good adhesion. Hot glue does not tolerate sliding a strip into place!
  Once again, here’s the look you’re going for.
 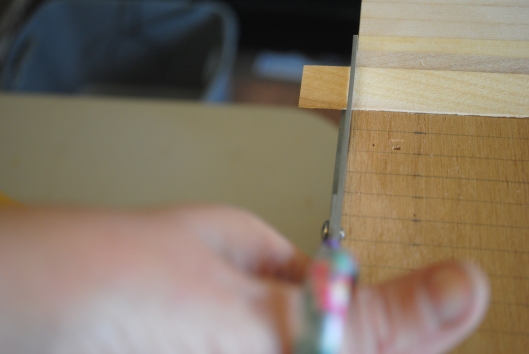 Occasionally I got the glue started on a strip of siding and realized I had forgotten to cut it down to size first. No problem! Once it was glued down, I just cut it off carefully, even with the others.
 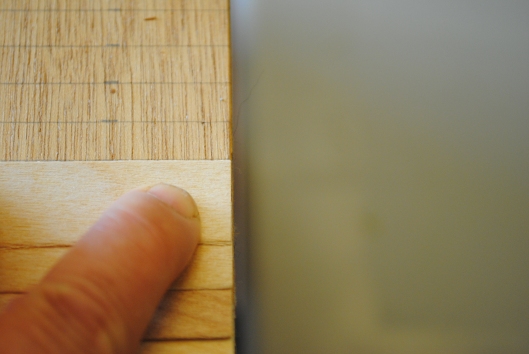 You want this back edge to be as even as possible, although I intend to trim it for durability. Since this dollhouse will actually be played with by children, I don’t want to risk the edges of the lap siding getting caught and pulled loose or broken off.
 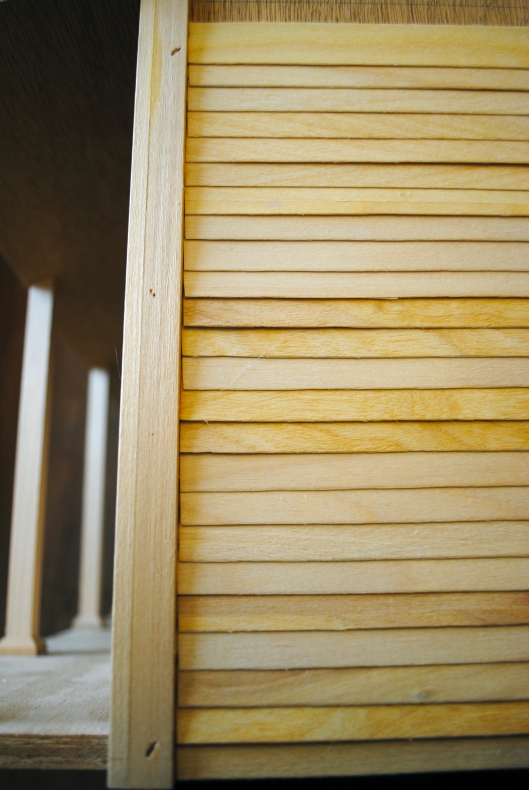 As you can see, the front edge of my siding against the existing trim is less than perfect. I think by the time I put on a coat of primer and a coat of paint, everything will look just fine.
 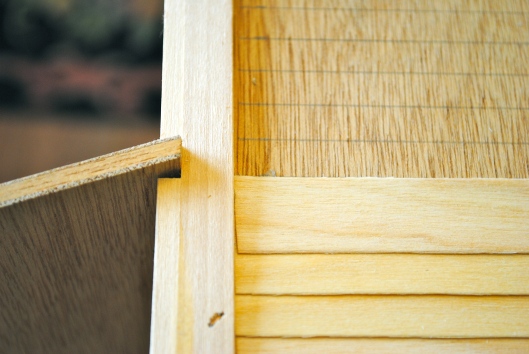 Occasionally a bit of hot glue extrudes beyond the top edge of the siding. While this will be hidden by the next layer of siding, it can also leave a bulge under the next layer.
 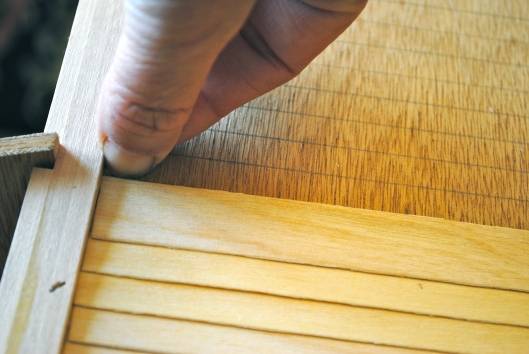 So, once the glue has cooled, I use a fingernail to scrape off the excess blob of glue. An exacto knife is more likely to slip and cut the siding, which is why I do it this way.
 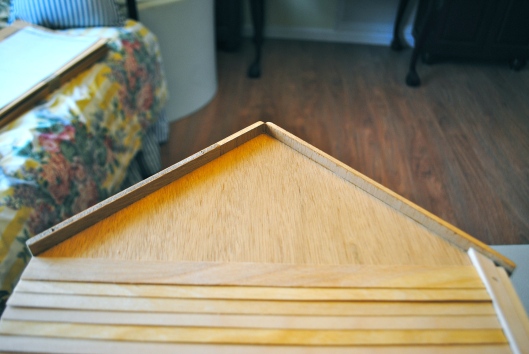 Eventually, you will get to this point on your siding. Hmmm, how to tackle that? I did some research on the internet (how did we ever get anything accomplished pre-Google?) and came up with a simple (not fool-proof, though, as I found out to my chagrin!) solution. Stay tuned . . .

This truly looks like so much fun.
It is! Wasn’t it obliging of our kids to give me a granddaughter? 🙂 It gives this all a real goal!
Can’t wait to see what the solution is… cuz I have zero idea myself.
I’ll post it soon–and believe me, I never would have thought of it myself, but once I read it, it seemed so obvious! 🙂
I used this type of siding on a large 1980’s unfinished 3 story Colonial for our History Museum dollhouse exhibition. Already have received 100% feedback from our staff and visitors
I’d love to see photos, Diana!
Try matboard instead of wood. It looks just the same.
Thanks for the tip, Marilyn!